
Appearance
Prepare for your first day
Open Operations management → Guidelines for the rapid opening of the business. The page heading is Quick Start Guide. Use its six steps to prepare a new store. For an already configured store, maintain only the settings that need a change.
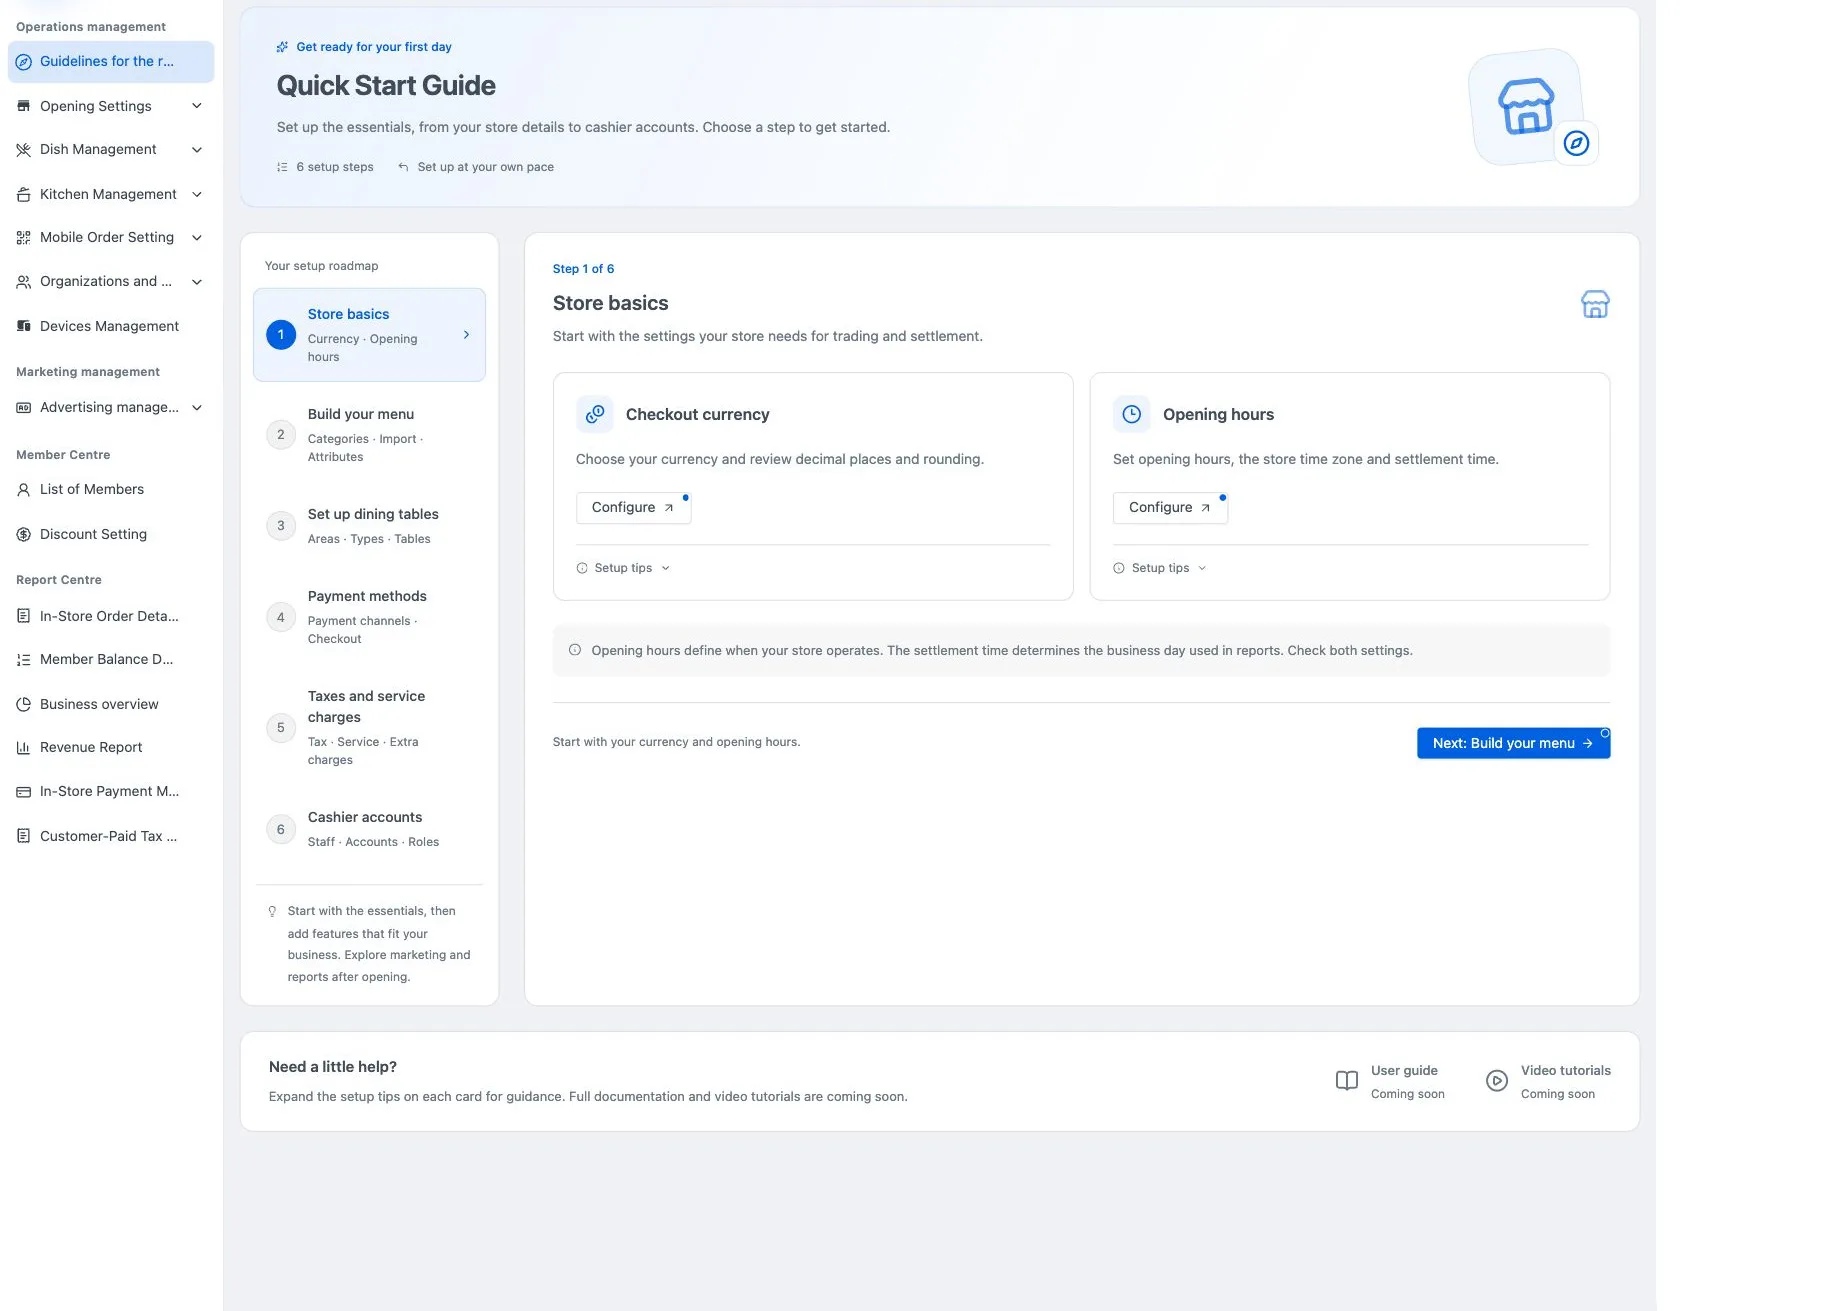
Work through the essentials
- Store basics. Set the store time zone, opening hours, business-day settlement time and checkout currency. Opening hours and the business-day boundary serve different purposes.
- Build your menu. Prepare categories, units and any sizes or modifiers first. Then create items and prices, import a larger catalogue if needed, and build set meals from the completed items.
- Set up dining tables. Create areas, table types and tables in that order. Skip this step if the store does not offer table ordering.
- Payment methods. Enable the channels the store will use. Ask your service provider about electronic-payment access before entering connection details.
- Taxes and service charges. Decide whether item prices already include tax. Set tax, service charges, extra charges and rounding, then check the final amount at the POS or ordering terminal.
- Cashier accounts. Create a role with the required POS permissions, create the staff account and assign that role. Staff without POS access will not appear in its sign-in list.
CDCP/EDC, QRIS and Tap to Pay currently depend on selected service providers in Indonesia. They are not available to every store. Cash, member payments and custom recording channels are generally available.
Check the store before opening
Confirm that the main POS is online and local devices can connect to it. Check that the menu, prices, tables, order acceptance, payment methods and charges match the store's arrangements. Staff use their own accounts with access appropriate to their roles. Confirm that the customer receipt header and POS printer configuration are ready.
The back office maintains data and settings. Printer binding, cashier actions and customer checkout take place on the relevant terminal.
Continue with Store settings or return to the guide index.