
Appearance
LuckyPOS merchant back office guide
Use this guide to prepare a store, maintain its menu and staff access, and review trading records in the LuckyPOS Smart Edition back office.
Sign in at the merchant back office with the account supplied by your service provider or store administrator. Your role determines the pages and actions available to you.
Start here
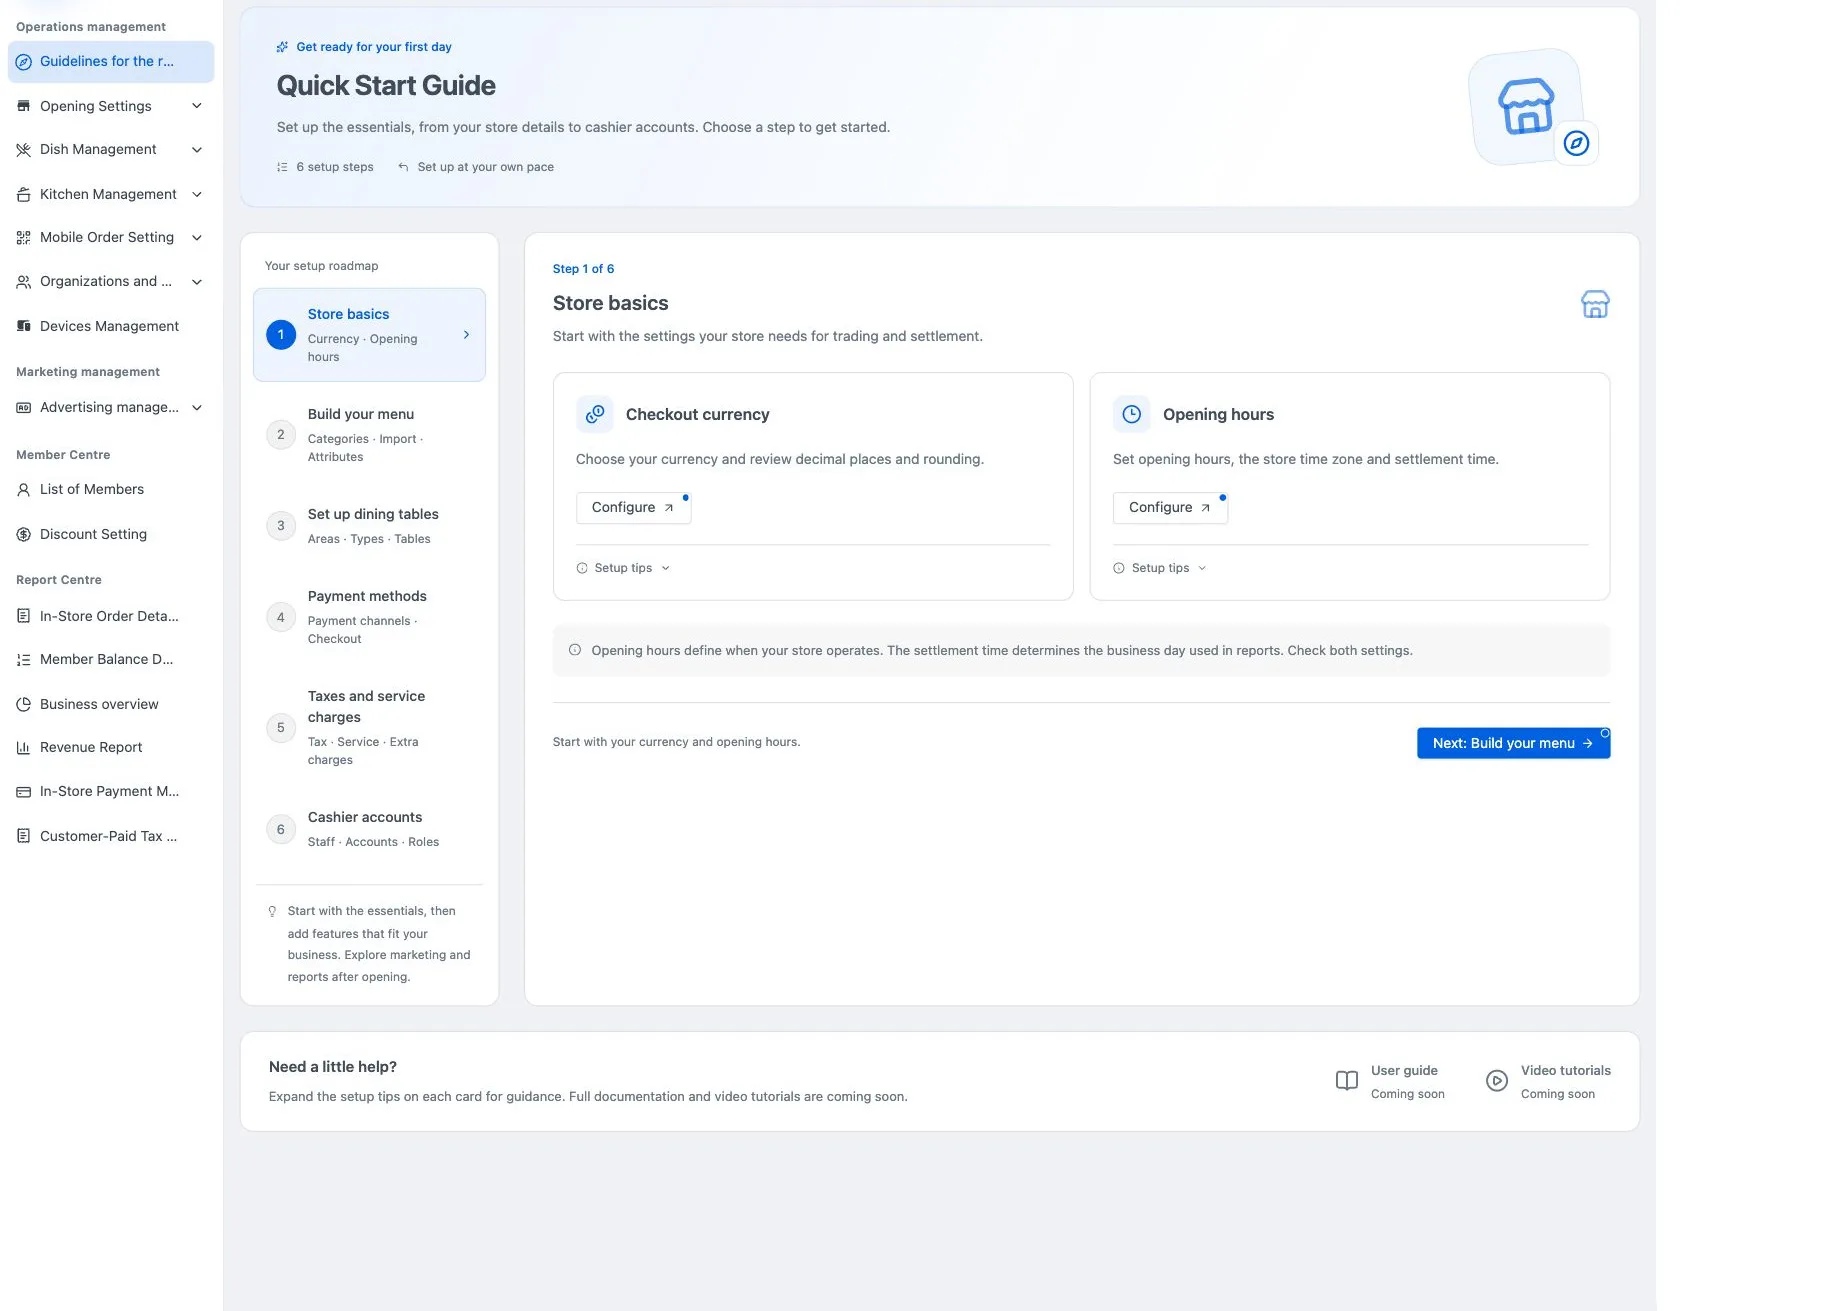
Opening a store? Follow Prepare for your first day. For an existing store, choose the task below.
| Your task | Guide |
|---|---|
| Store details, hours, business days and currency | Store settings |
| Categories, items, sizes, preparation options, add-ons and set meals | Build and maintain the menu |
| Payment channels, tax, service charges, extra charges and rounding | Payments and charges |
| Tables, table QR cards, receipt headers and reasons | Tables and receipts |
| Staff roles, accounts and devices | Staff access and devices |
| QR ordering, takeaway and kiosks | Customer ordering |
| Screen and mobile advertising | Advertising |
| Members, balance corrections and top-up offers | Membership and top-ups |
| Find an order and examine its payment or charges | Order lookup |
| Sales, collections, tax and exports | Reports and reconciliation |
| Ask the assistant, change language or maintain your profile | Assistant and account settings |
| Choose which orders POS calls and set automatic calls and repetitions | Configure pickup calling for POS |
| Configure table queues, missed turns, numbering and guest messages | Set up the seating waitlist |
Finding pages
Expand the relevant group in the left menu, then select its page. Dish Records opens the item catalogue. Under Dish Properties, Specifications management maintains sizes, while Dish Variants maintains preparation choices.
Kiosk settings are under Mobile Order Setting → Self-Service Ordering Kiosk. Member top-up offers are under Member Centre → Discount Setting; the page heading is Recharge Rule Settings.
Reports are under Report Centre, including Revenue Report, In-Store Payment Method Report and Customer-Paid Tax and Fee Report. The steps in each chapter use the current menu and control names.
After saving a change
Save or confirm the form. An online main POS receives the update in real time and distributes it to devices on the local network. Check that the main POS has internet access and the other devices can communicate with it before checking the result at a terminal.
Screenshots show the English interface. Item names and other store-entered content retain their original language. Sample amounts illustrate how to read a screen; use your own store currency, prices and charges.
Other languages: 中文 · Bahasa Indonesia