
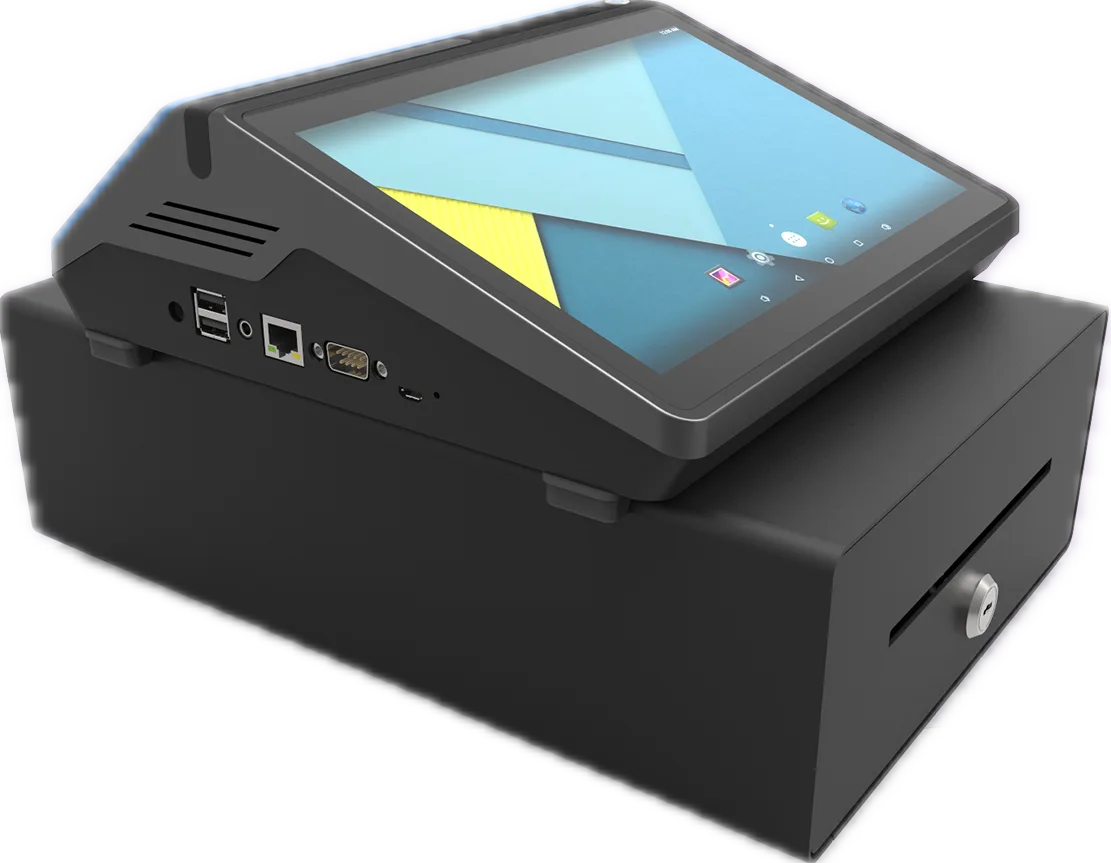
Appearance
Quick Start
Lock Screen Password:
- If the software screen is locked and asks for a password, but you have never set one, use the initial password
250308to unlock it. - The initial password is provided for first-time setup or password reset. After unlocking the device, follow the system prompts to change it to a secure personal password.
Requirements
- Internet access is required. Wireless and wired networks are supported depending on the device model. Make sure the network is stable.
- Connect the device to power using the included power adapter.
- Install printer paper before printing receipts.
- If cash change from a cash drawer is required, install and connect the cash drawer first.
Note
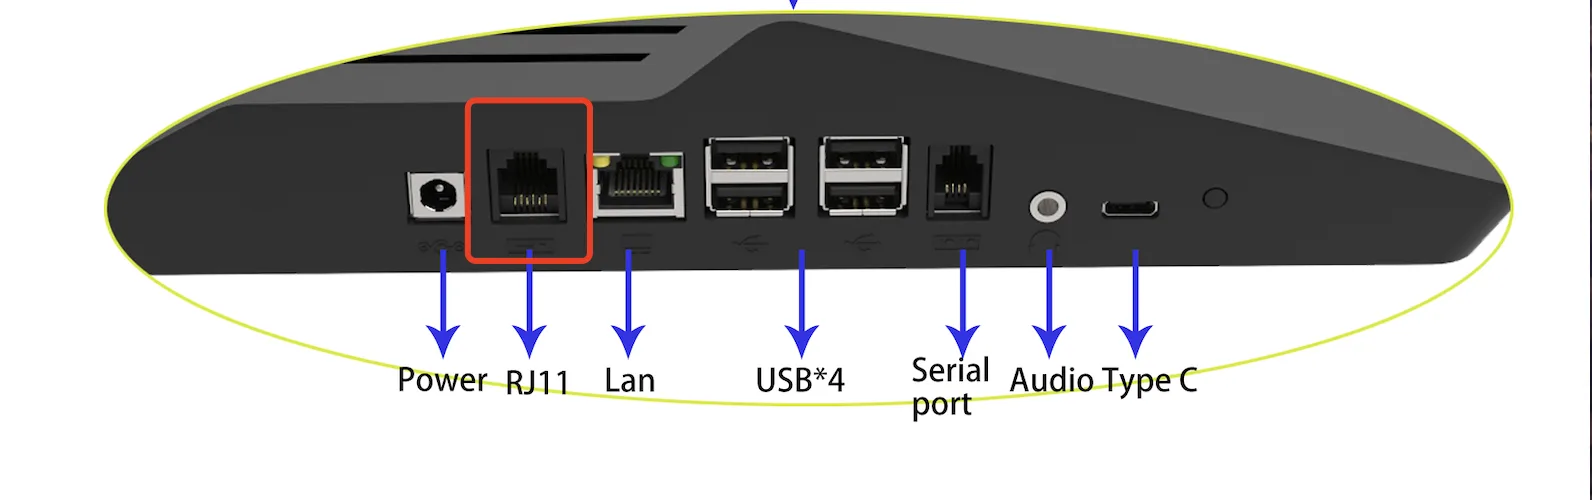
The interface highlighted in red in the image above connects to the cash drawer cable.
Power On
- Press and hold the power button.
- Wait for the device to start and enter the operating interface.
Connect to the Network
- On the home page, click the settings button in the upper-right corner and connect to Wi-Fi in the settings screen. If no network is available, the network connection window opens automatically.
- Wired network access is also supported.
Note
If your device model supports a SIM card, insert a SIM card with mobile data.
Sign In
- Enter the cashier account and password.
- Click Log In.
- After the account and password are verified, the system opens the home page.
Printer Setup
- Add a printer and select the correct connection method.
- Configure the connection information and paper width.
- Configure printer content to finish setup.
Open a Table and Order
- Select an idle table on the home page.
- Enter the number of guests and other information, then click Open Table and Order.
- Select dishes on the right side and add them to the cart on the left by clicking dish images.
- After adding dishes, click Place Order to complete the order.
Add Dishes
- On the home page, select the table that needs more dishes.
- Select dishes on the right side and add them to the cart on the left by clicking dish images.
- After adding dishes, click Add Dish to submit the additional order.
Checkout
- On the home page, select the table to be checked out.
- Under the order list on the left, click Checkout.
- Select a payment method and click Confirm Payment according to the actual amount received.
- After the full amount due has been paid, click Complete Checkout to finish checkout.
Shift Handover and Sign Out
- Click Shift Handover in the navigation bar on the right side of the main page.
- Check the shift handover information.
- Click Confirm Handover and Print.
- The account signs out automatically.